· 7 min read
How I Added Umami Analytics to My Astro Blog (and Why I Didn't Use GA4)
I am using Umami Analytics to my Astro blog in 10 minutes, no cookies, no GDPR consent banner, and a 2kb script versus GA4's 28kb. Here's how I extended AstroWind's config system to wire it in as a first-class vendor.

Hi friends, as you may know, after I deployed this blog, my next step was to setup analytics so I can see how people spend time in my website.
Major spoiler -> Nobody is reading at the moment and in this blog post, I will explain how I setup analytics and figured that out.
When looking into the available analytics platforms I had a few requirements:
- The analytics platform needed to be free or at least have a generous free tier.
- Provide basic web traffic reporting features.
- Integrate easily with Astro, which is what this blog is built with.
After doing research, Google Analytics 4 (GA4) and Umami were the two best options.
TL;DR: GA4 with proper GDPR compliance is somewhat complex to set up on an Astro site. I went down that rabbit hole, gave up, and switched to Umami. Setting up Umami takes about 10 minutes and the only code I wrote was a small AstroWind config extension. If you want to skip straight to the implementation, jump to Adding Umami to AstroWind.
What’s Wrong With GA4
As you might have heard, Google really wants to collect user identifying data. To nobody’s surprise, when a site uses GA4, it sets cookies and collects personal data from visitors.
My EU and UK friends are protected from those kinds of shenanigans and are not tracked unless they provide explicit consent, through annoying cookie banners.
So to stay GDPR compliant and not end up in a European jail, the full GA4 setup requires extending my Astro blog with a cookie banner to get consent, enabling/disabling the tracking functionality based on user response. Furthermore, to minimize the impact of GA4 on site loading performance, I also have to look into offloading analytics to a worker.
If you want to try and replicate this setup, Daniel covers GA4 in detail.
I, however, wasn’t aware of this guide and after spending two hours failing to setup analytics, I decided to give my second option a go.
Why Umami
I know what you are thinking, “haha he failed setting up GA4, what a loser”. Jokes on you reader, Umami is awesome and I should have gone with it in the first place, here is why.
- No cookies: It doesn’t set any, so no consent banner is required under GDPR.
- Lightweight: The tracking script is about 2kb versus GA4’s 28kb.
- Simple dashboard: Pageviews, referrers, devices, countries. Everything I actually need right now.
- Free cloud tier: 10,000 events per month, which is more than enough for a new blog.
- Self-hostable — I can move it to my own VPS later when I get there
The trade-off is that Umami has no Google ecosystem integration. No Search Console data inside the dashboard, no Google Ads audiences, no remarketing. For a person like me with a simple blog, honestly, I do not need all this. Simple is better.
Adding Umami to AstroWind
AstroWind already has a built-in analytics system with a slot for Google Analytics. Rather than hacking a script tag into the layout, I extended the existing config system to add Umami as a first-class vendor alongside GA4. This keeps everything in one place and gives you a clean one-line kill switch if you ever want to disable it.
Here is everything I changed.
1. I Extended the Config Schema
AstroWind’s analytics configuration lives in vendor/integration/utils/configBuilder.ts. I added a umamiAnalytics entry to the AnalyticsConfig interface and its default values:
// vendor/integration/utils/configBuilder.ts

export interface AnalyticsConfig {
  vendors: {
    googleAnalytics: {
      id?: string;
      partytown?: boolean;
    };
    umamiAnalytics: {      // added
      id?: string;
      src?: string;
    };
  };
}

// and in getAnalytics defaults:
umamiAnalytics: {
  id: undefined,
  src: undefined,
},
Having src as a configurable field is really convenient. If I self-host Umami later, I can just update the URL in config and everything should work.
2. I Added my Umami ID/src to config.yaml
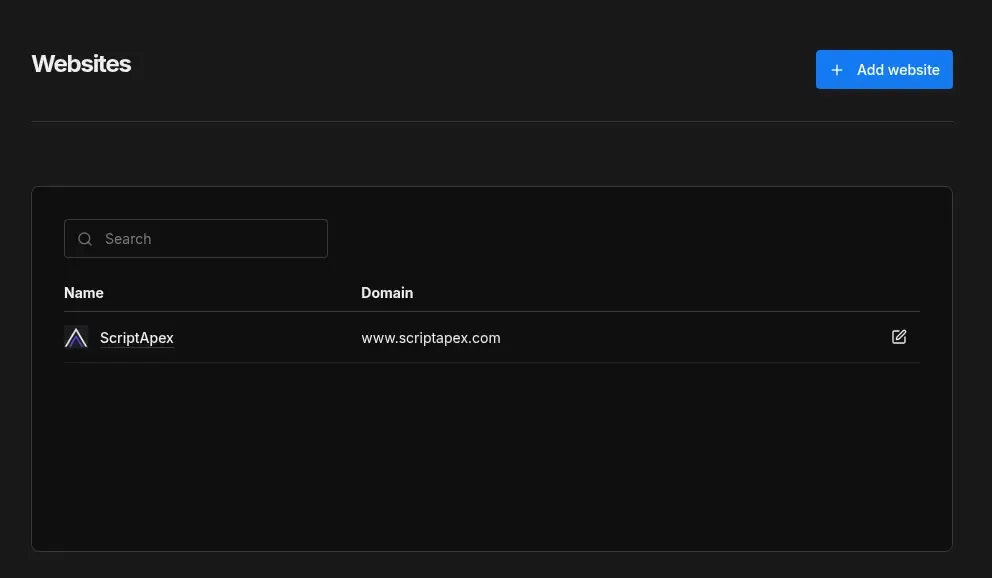
I signed up at umami.is and followed their guide to add my site. Umami will give you a script tag that includes your website’s ID and src. Those are the two values I need to complete my configuration.
Add both to src/config.yaml:
# src/config.yaml
analytics:
  vendors:
    googleAnalytics:
      id: null
    umamiAnalytics:
      id: your-umami-website-id # UUID from Umami dashboard
      src: https://cloud.umami.is/script.js
BTW, to disable Umami entirely, I can just set either id or src to null, no other changes.
3. I Created the UmamiAnalytics Component
With the Umami id and src set in the configuration file, now I need to create a tracking component that uses these values to construct the original Umami analytics script.
---
// src/components/common/UmamiAnalytics.astro
interface Props {
  id: string;
  src: string;
}

const { id, src } = Astro.props;

if (!id || !src) return;
---

<!-- Umami Analytics -->
<script is:inline async data-website-id={id} src={src}></script>
The is:inline attribute tells Astro not to process or bundle this script, which is what Umami expects.
The early return if props are missing means it fails silently rather than throwing an error and is what allows me to disable tracking just by setting either value to null in the config.
4. I Wired It Into Analytics.astro
AstroWind’s src/components/common/Analytics.astro is the single place where all analytics vendors are loaded. I added the Umami component here alongside the existing GA4 slot, and applied a production guard to both:
---
import { GoogleAnalytics } from '@astrolib/analytics';
import { ANALYTICS } from 'astrowind:config';
import UmamiAnalytics from './UmamiAnalytics.astro';

const isProd = import.meta.env.PROD;
---

{
  isProd && ANALYTICS?.vendors?.googleAnalytics?.id ? (
    <GoogleAnalytics
      id={String(ANALYTICS.vendors.googleAnalytics.id)}
      partytown={ANALYTICS?.vendors?.googleAnalytics?.partytown}
    />
  ) : null
}

{
  isProd && ANALYTICS?.vendors?.umamiAnalytics?.id && ANALYTICS?.vendors?.umamiAnalytics?.src ? (
    <UmamiAnalytics
      id={String(ANALYTICS.vendors.umamiAnalytics.id)}
      src={String(ANALYTICS.vendors.umamiAnalytics.src)}
    />
  ) : null
}
The isProd guard means analytics never runs in local development. So visits to localhost from npm run dev are not logged.
5. I Deployed and Verify
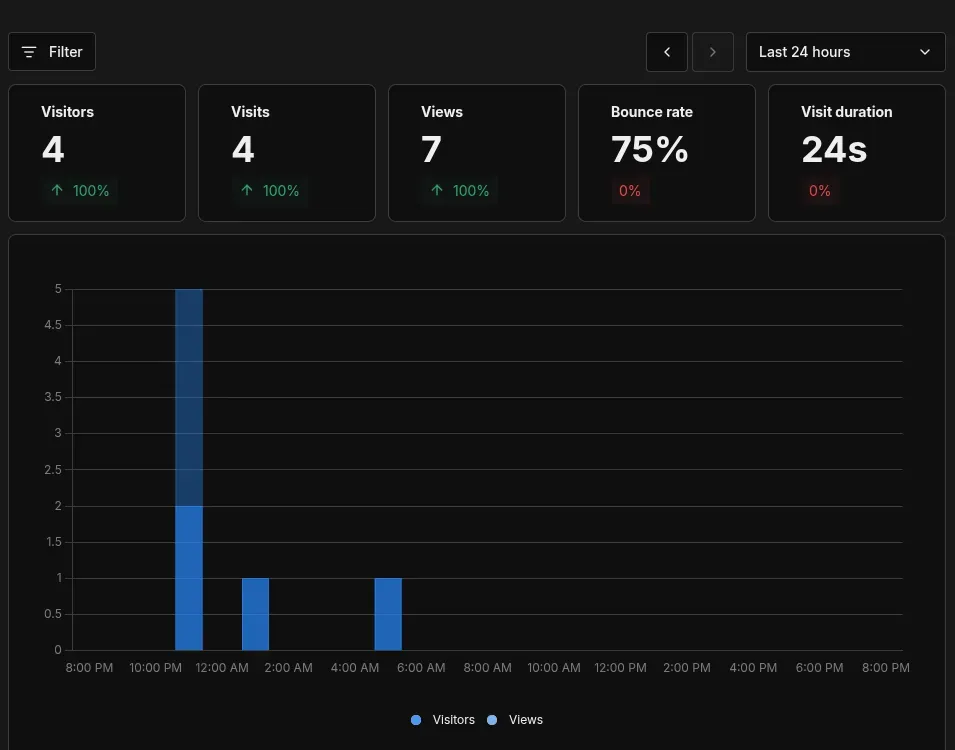
That’s pretty much it, the only thing left was testing. I pushed to git, Netlify built the site and deployed it automatically and after visiting, I switched to the Umami dashboard and verified that my visits are logged.
What Almost Drove Me Insane
What I didn’t mention is one of the reasons I didn’t pick Umami right away was because I tried visiting cloud.umami.is and it was not operational. I looked at GitHub, and another user had reported the same issue but nobody responded. I really thought the project was not actively maintained and I would be better off using good old GA4. Only after I lost the battle with GA4, I revisited the issue and someone had kindly responded that the site was operational on their end.
Then it clicked. I run a DNS-level ad blocker on my home network. It was blocking cloud.umami.is entirely. I had whitelisted Google Analytics long ago when I was working on a WordPress site so it worked right away.
Lesson learned, next time I will read the HTTP error codes the browser provides.
The fix was simple, whitelisting umami.is in my ad blocker allowed me to load the analytics dashboard and log traffic.
If you run Pi-hole, NextDNS, or any DNS-level blocker and Umami isn’t working, check your blocklists before debugging anything else.
Epilogue
After all this I had mixed feelings.
You see, setting up analytics with Umami was very rewarding. The setup was easy, tracking was great and my site remained very performant.
What wasn’t very rewarding was looking into my site visitors and oh boy, there aren’t any apart from me.

What’s Next
The blog now has analytics and although nobody is visiting, I will go forward to setup a newsletter. Why you ask? you will have to read my next blog post and find out.
If you visit the site, now I will know, feel free to reach out at [email protected] and say hi.